
Unreal engine uses a node based material system. Think how blender materials work.

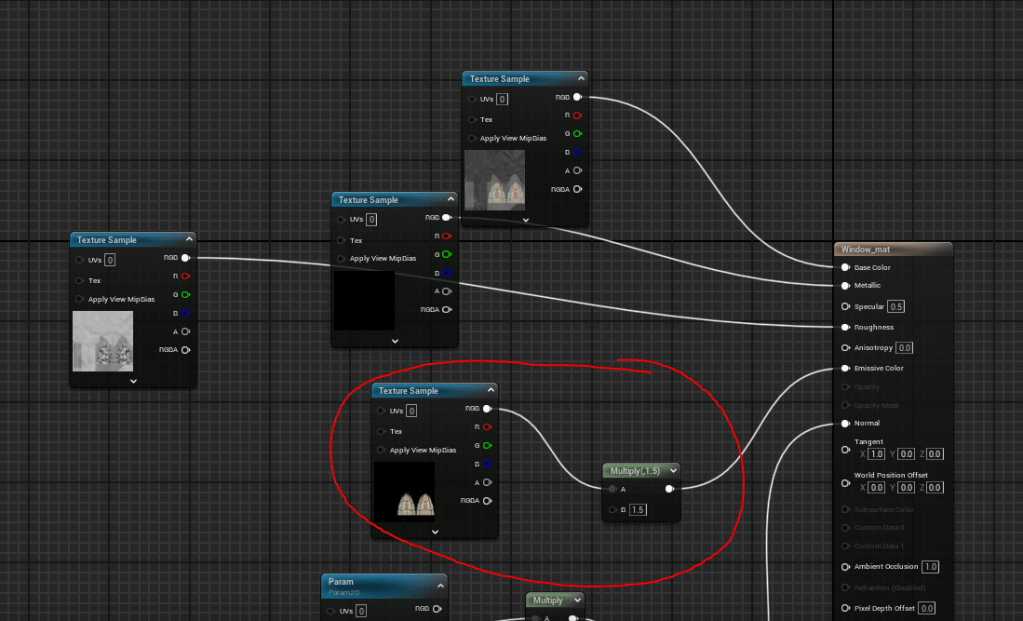
My node setup was rather simple. I added in some extra nodes to adjust the intensity of the base colour, and adjust the intensity of the normal maps.
This is very useful, as it was very hard to get all the colours and normal maps perfectly consistent, so this allowed me to make subtle tweaks in engine, without needing to go back and edit the textures.
Also, regarding the emissive window from the texturing post, here is the node setup. I also added a multiply node to be able to adjust the intensity, similar to how the node setups work for the normal maps.
Creating a flowing water material for my fountain
honestly, this was very simple. I made a very quick seamless noisy normal map in zbrush with some bumps.
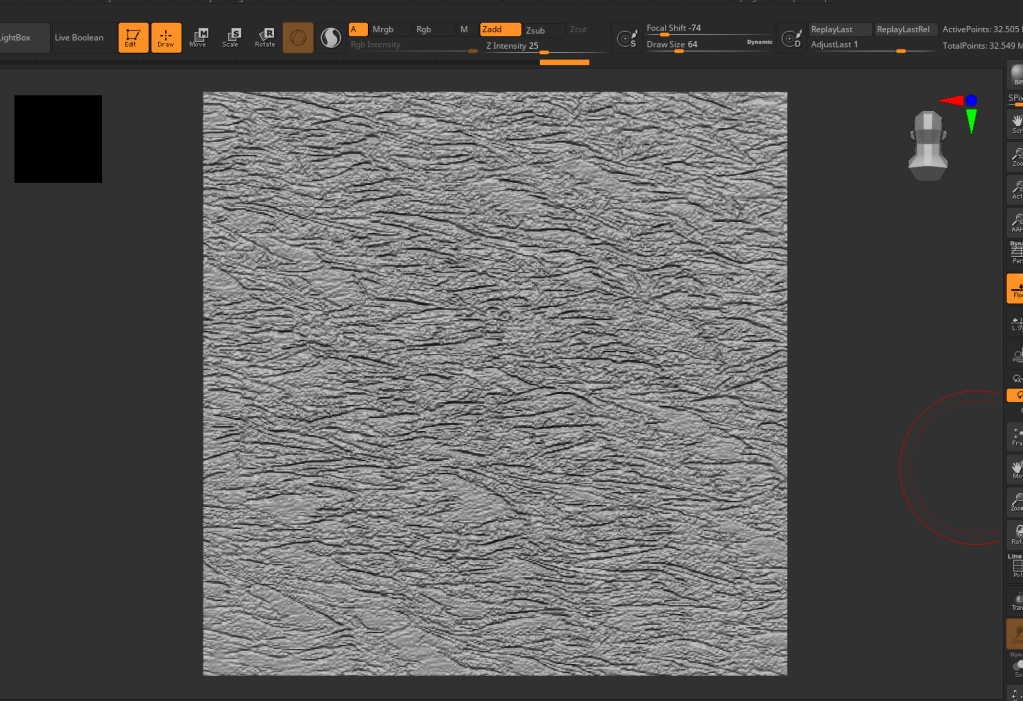
I used the panner node which pans the UVs in a downwards motion, giving the illusion of motion. I also turned the roughness down to zero, to give it that shiny, wet look.

Overall, I was very happy with how this effect turned out, although I would love to experiment with creating some additional foamy effects as well.

Leave a comment